
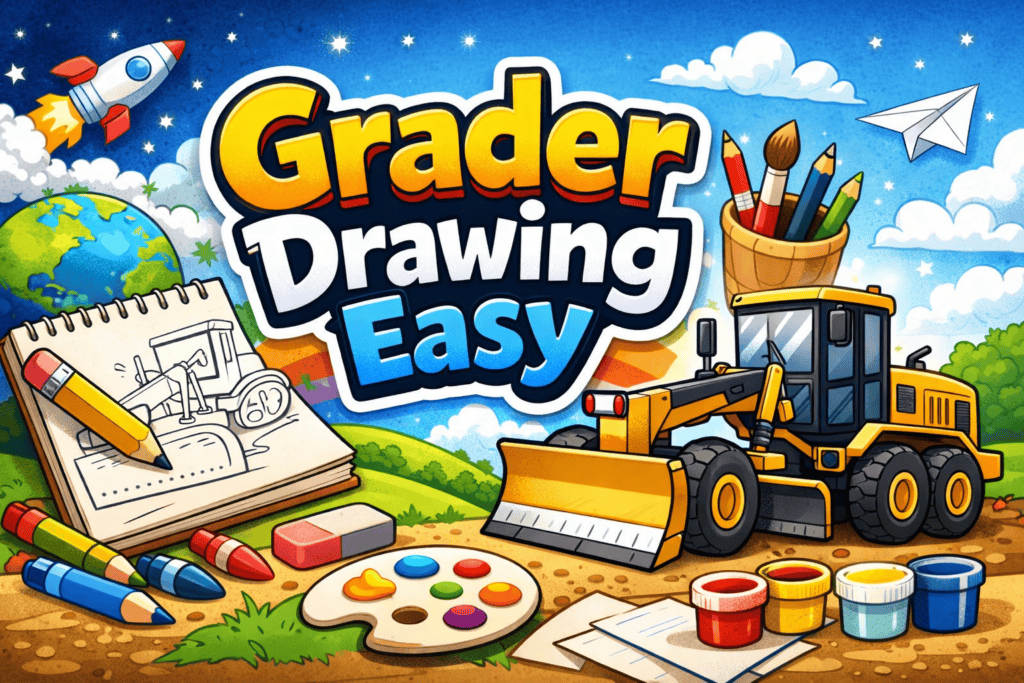
Learning grader drawing easy can feel intimidating at first, especially if you have never drawn construction machines before. Road graders look complex because of their long frames, large wheels, and angled blades. However, once you break the drawing into simple shapes and understand the structure, it becomes much easier than it looks.
I still remember watching a road grader outside my school as a kid. The slow movement, the sharp blade smoothing the road, and the massive tires made it look powerful. Years later, when I tried sketching one, I realized that the secret was not talent but simplifying the form. This guide is built on that exact idea, so anyone can learn graded drawing without stress.
Why Grader Drawing Easy Is Perfect for Beginners
The reason grader drawing works well for beginners is that graders are made from clear geometric parts. Straight lines, circles, and rectangles form the entire machine. When you focus on structure instead of details, your confidence grows naturally.
Drawing graders also improves observation skills and hand control. According to experts at Drawspace, practicing mechanical drawings helps beginners understand proportions better. Over time, these skills transfer to other drawings as well.
Grader Drawing Easy Step-by-Step Method
This grader drawing method uses a slow and steady approach. Instead of rushing, each stage builds on the previous one.
Understanding the Basic Shape of a Road Grader
Before putting pencil to paper, it helps to know what a road grader actually looks like. A grader is a construction vehicle used to create flat surfaces, commonly seen on roads and construction sites. You can explore real machine references on Wikipedia’s road grader page to understand its structure.
The grader consists of a long body, two main wheels at the back, smaller wheels at the front, and a large blade mounted in the center. Keeping this mental image makes drawing much easier.
Sketching the Foundation Lightly
Start your grader drawing easy by drawing a long horizontal rectangle. This represents the main body of the grader. Do not press hard on your pencil. Light lines are easier to correct and adjust.
Next, add two large circles at the rear end for the back wheels. Then draw two slightly smaller circles near the front. At this stage, the drawing may look simple, but that is exactly the goal.
Adding the Grader Blade Shape
The blade is the most recognizable feature. Draw a slightly slanted rectangle beneath the center of the grader body. This angle gives the grader its working posture. According to Engineering Explained, grader blades are angled to move material efficiently, and showing that angle adds realism.
Keep the blade simple. Avoid details until the main shape feels right.
Refining the Frame and Cabin
Now refine the body by connecting the shapes smoothly. Add a small box above the front section to represent the cabin. Draw a simple square window inside it.
This stage of grading is easy, where the machine starts looking real. Take your time and adjust proportions if needed.
Grader Drawing Easy Tips to Improve Accuracy
Many beginners struggle because they rush. These tips will help you improve without frustration.
Using Reference Images Wisely
Using references does not mean copying blindly. Look at images from trusted sources like Construction Equipment Guide and focus on proportions rather than tiny details.
Keeping Lines Clean and Confident
Confidence matters more than perfection. Draw smooth lines and avoid sketching over the same line repeatedly. Clean lines make your grader drawing look professional, even if it is simple.
Practicing with Simple Variations
Try drawing the grader from slightly different angles. Front view, side view, or a mild diagonal angle all help improve understanding. This practice strengthens spatial awareness over time.
Common Mistakes in Grader Drawing Easy and How to Fix Them
Even simple drawings come with common mistakes. Knowing them early saves time.
Overcomplicating the Design
Many beginners add too many details too soon. Focus on shapes first. Details come later.
Incorrect Wheel Sizes
The rear wheels are always larger than the front ones. Keeping this ratio correct instantly improves realism.
Ignoring Proportions
If the body is too short or the blade is too small, the drawing feels off. Compare parts constantly as you draw.
Grader Drawing Easy for Kids and Students
This grader drawing easy method works especially well for kids and school projects. Teachers often recommend drawing machines because they combine creativity with technical thinking.
Parents can guide children by showing how shapes turn into real machines. Educational platforms like Education.com highlight drawing as a way to build focus and patience in students.
Grader Drawing Easy Using Pencil, Pen, or Digital Tools
You can create grader drawings using different tools.
Pencil Drawing
Pencils are best for beginners. They allow corrections and shading control.
Pen Drawing
Once confident, pens add boldness. Ink drawings look clean and sharp.
Digital Grader Drawing
Digital tools like tablets offer layers and undo options. Beginners often enjoy experimenting digitally after mastering paper sketches. Software like Autodesk Sketchbook is beginner-friendly.
How Practice Makes Grader Drawing Easy Over Time
Drawing improves through repetition. The first grader’s drawing may feel awkward, but every attempt builds skill. I once filled an entire notebook with machine sketches that looked terrible at first. A few weeks later, the improvement was obvious.
Consistent practice trains your eye and hand to work together. This is why artists always recommend drawing a little every day.
Final Thoughts on Grader Drawing Easy
Learning grader draw easily is not about being perfect. It is about breaking a complex machine into simple shapes and enjoying the process. With patience, observation, and regular practice, anyone can draw a road grader confidently.
If you stay consistent, today’s simple sketch becomes tomorrow’s detailed drawing. Keep your lines light, your mindset relaxed, and your curiosity alive.